Docs
Sign up (Free)
Click on Sign Up in the top right corner of the page
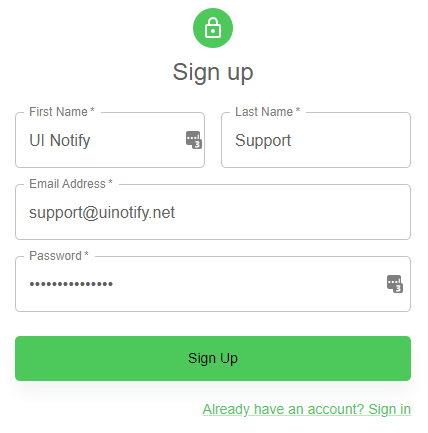
Enter First/Last Name, Email, and choose a password.
Click 'Sign Up.'
Congrats! Your account has been created.
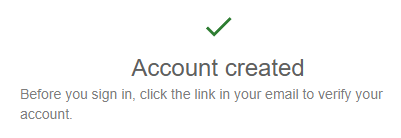
You will receive an email from instock@mail.uinotify.net - click the 'Verify Email' button to verify your email address is accurate.
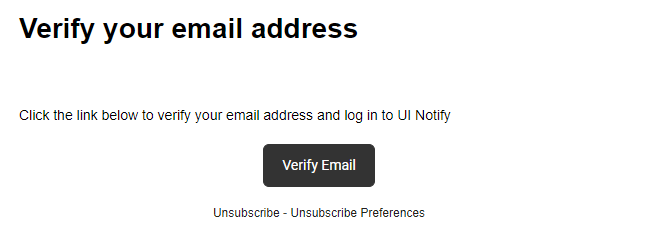
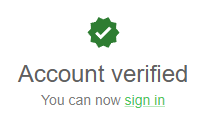
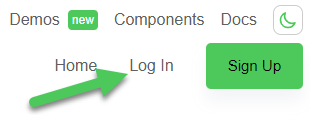
Once you have verified your email, you can log in by clicking 'Log In' in the top right corner of UINotify.net.
Sign in with the username and password that you created:
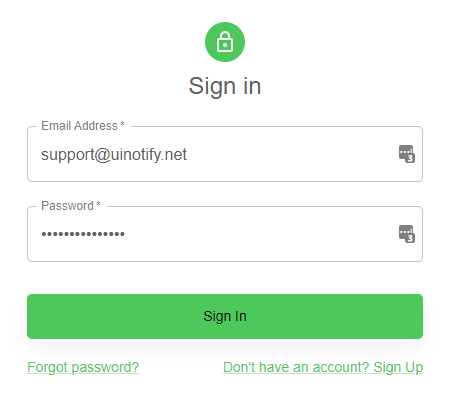
If you ever forget your password, you can use the 'Forgot Password' link below the Sign In button.
Create Your Notify
When you first sign in, you will not have any Notifies set up. Click the green button in the bottom right-hand corner to add your first Notify.
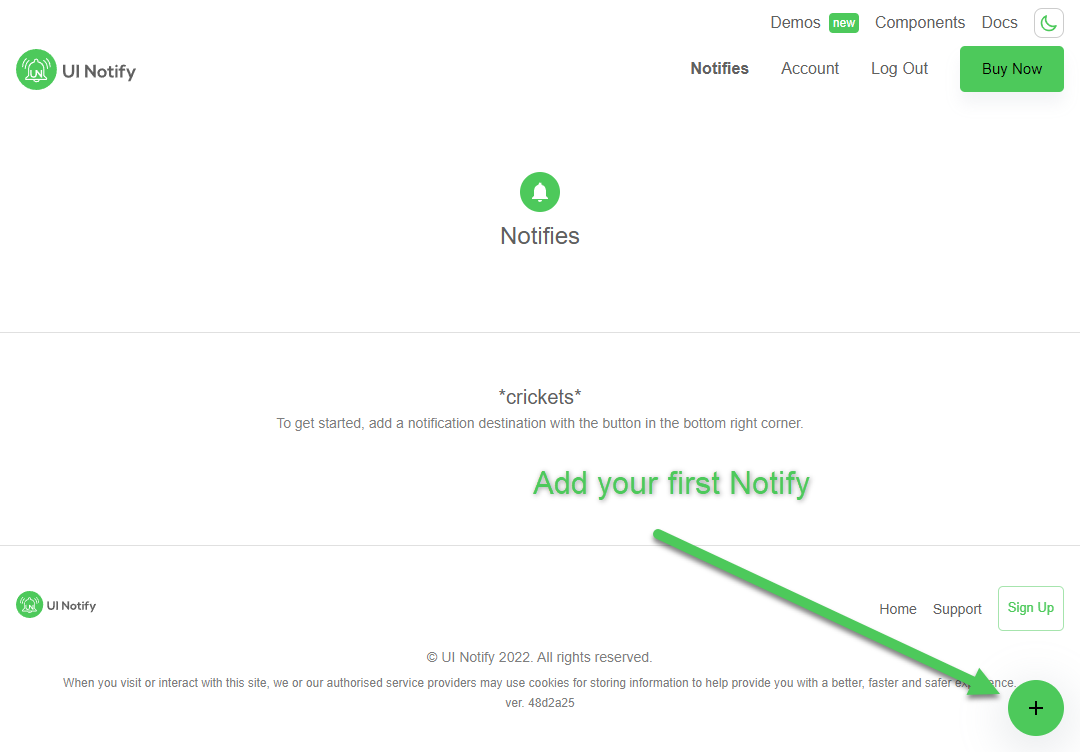
Enter in the Email address for your first Notify and click 'Notify Me'
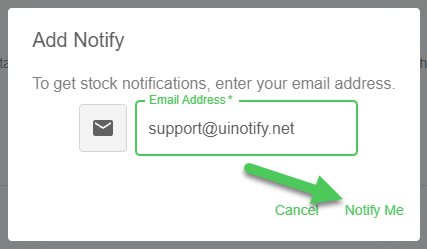
Your new Notify shows up on the Dashboard. If you would like to change the Notify's email address, click the three dots in the upper right of your Notify and choose 'Delete' Then you can add a different email address for notifications.
Change Your Region
Each email (and SMS) notification can be set to a specific region (US by default). If you would like to change your region to CA, EU, etc. you can click the 3 dots in the upper right corner of your Notify and choose 'Change Region.'
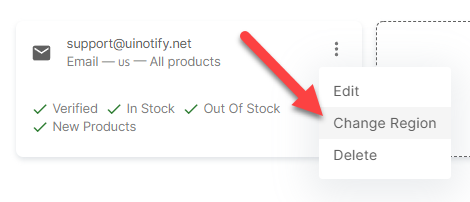
You will then be presented with a list of regions to select:
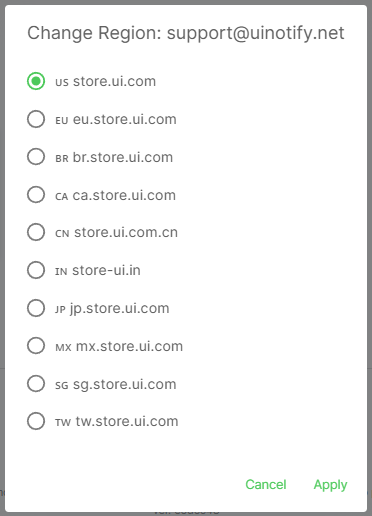
Select your new region and click 'Apply.' Each Notify can be tied to a single region.
Upgrading Your Account
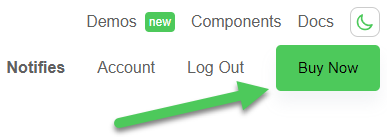
To upgrade to the Paid version of UI Notify, click 'Buy Now' in the upper right-hand corner of the dashboard.
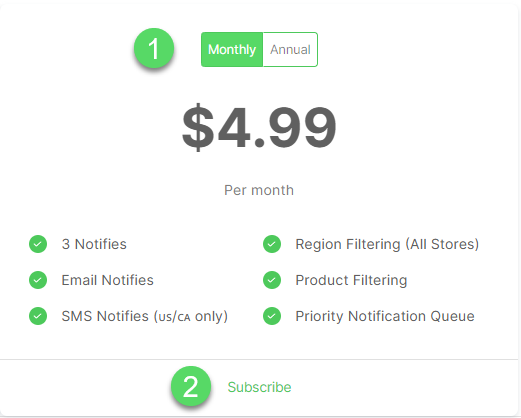
Click 'Subscribe'.
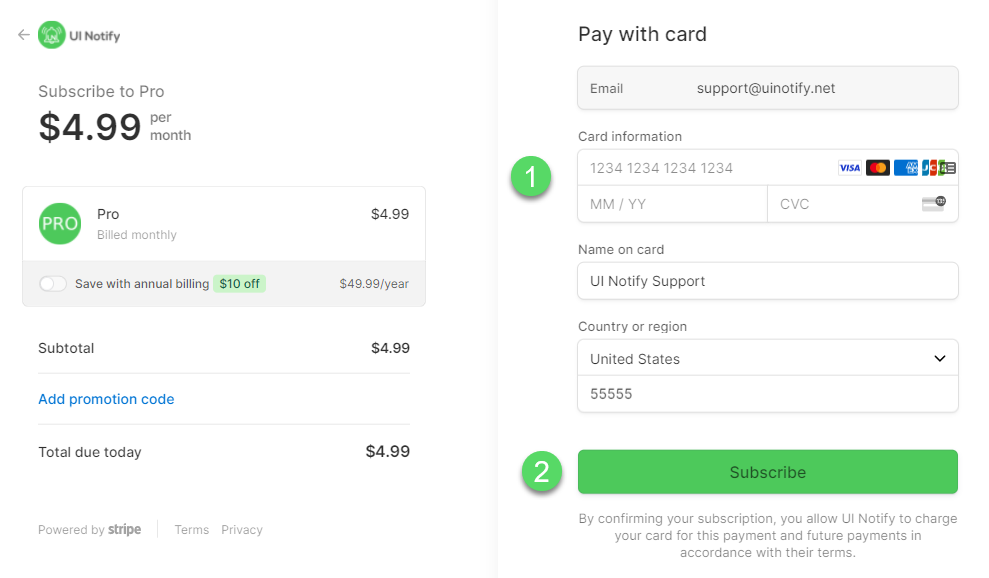
After clicking 'Subscribe,' you are redirected to Stripe, our payment processing partner. On the left side of the page, click the switch if you would like to save with annual billing. Then, enter in your billing information (1) and then click 'Subscribe' (2) again to complete the payment process.
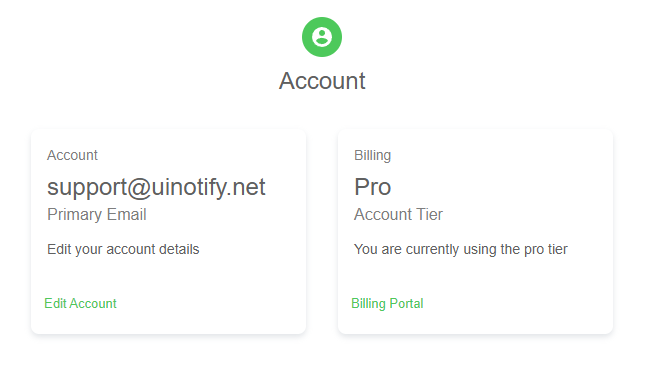
That’s it! You are now subscribed to UI Notify!

If you click on 'Account' in the upper right-hand corner, you can see your Account status, edit your account information, or change your subscription preferences, and cancel your account.
Notify Setup
Once logged in, click ‘Notifies’ in the upper right-hand corner to add/remove/modify your Notifies.
Add a new Notify
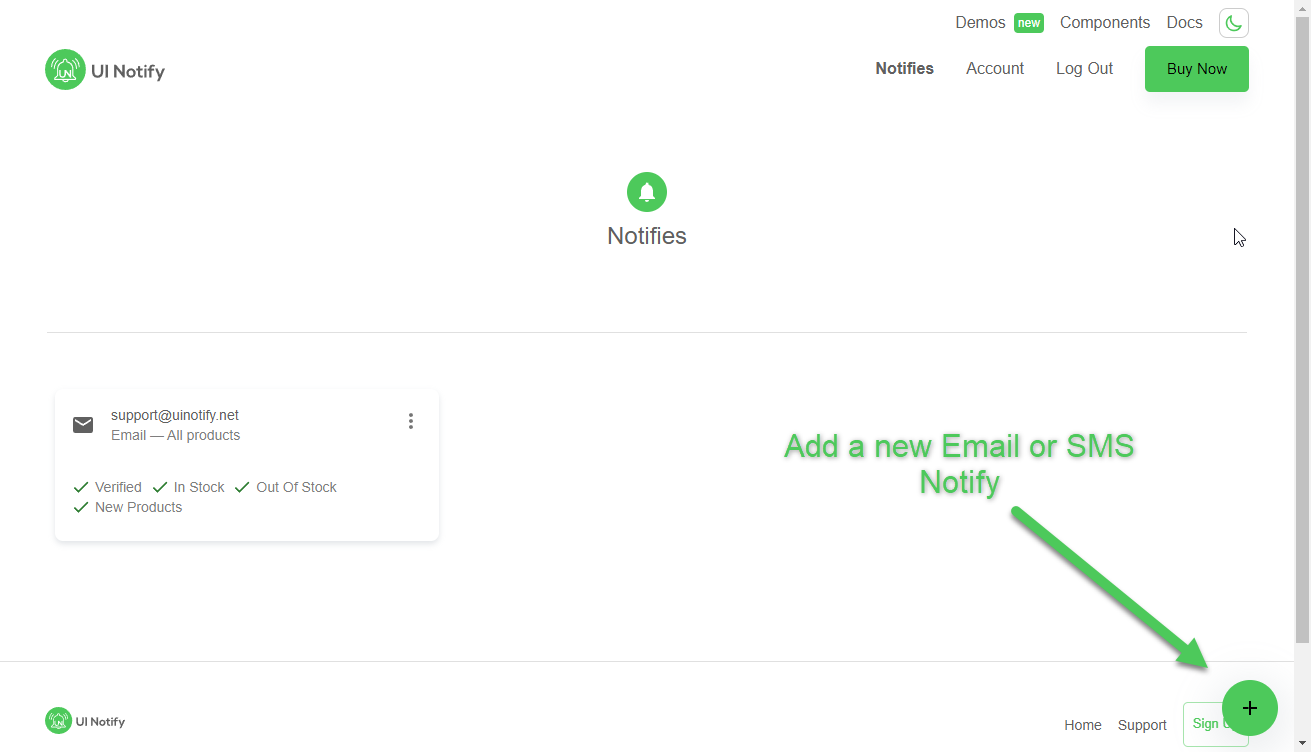
To add a new Email or SMS Notify, click the green button in the lower right-hand corner.
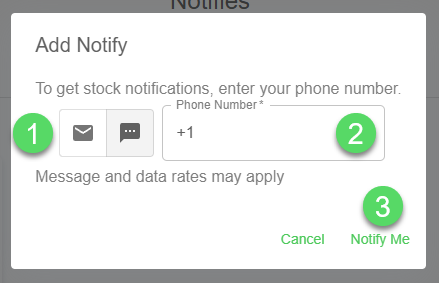
Choose Email or SMS Notify (1), and then enter in your email address or SMS phone number (2) followed by 'Notify Me' (3).
Edit a Notify
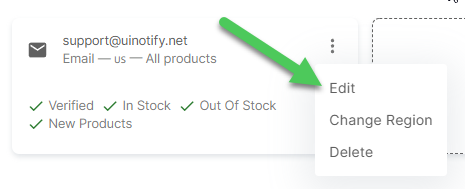
By default, no filters are placed onto your Notifies. To edit a Notify, click on the 3 dots in the upper right-hand corner of your Notify and choose 'Edit'
To filter on specific products, disable 'All Products' (1) and then select one or more products from the 'Add Product' drop down box (2).
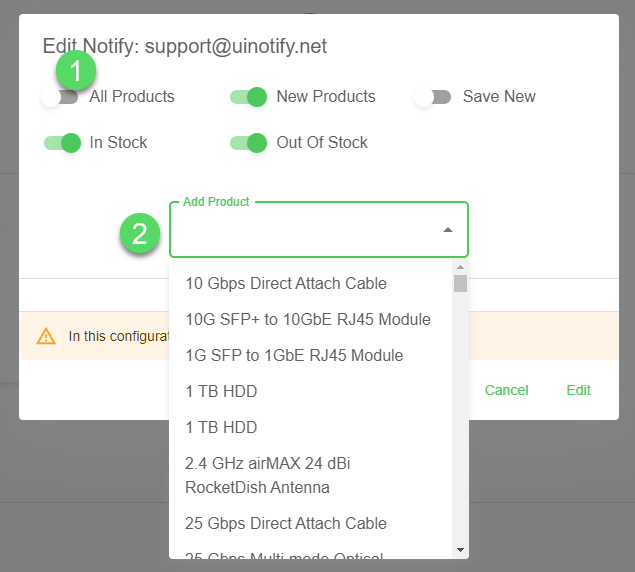
The New Products option will send you notifications when new products are released. If you have filtered on specific products, you will also see a 'Save New' option which allows you to automatically add any new products to your filtered list.
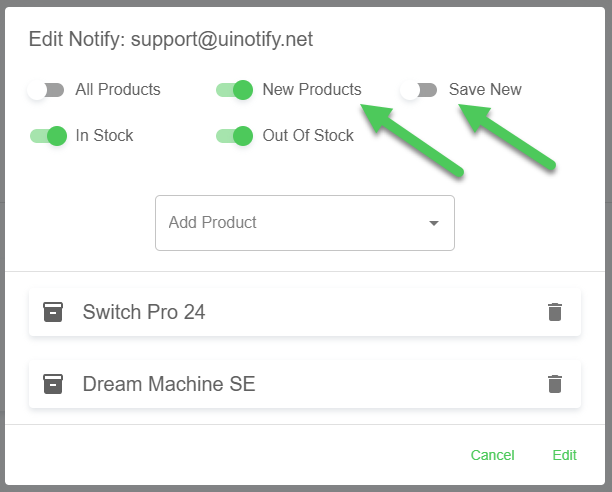
If you would like to delete any products you're being notified about, simply click the trash can icon next to those products to remove them from the filtered list.
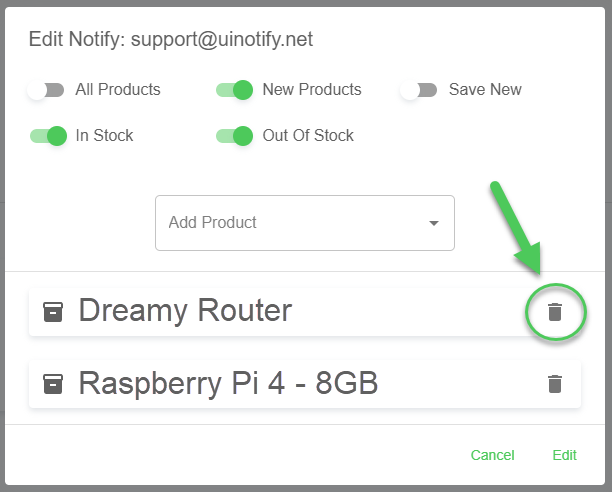
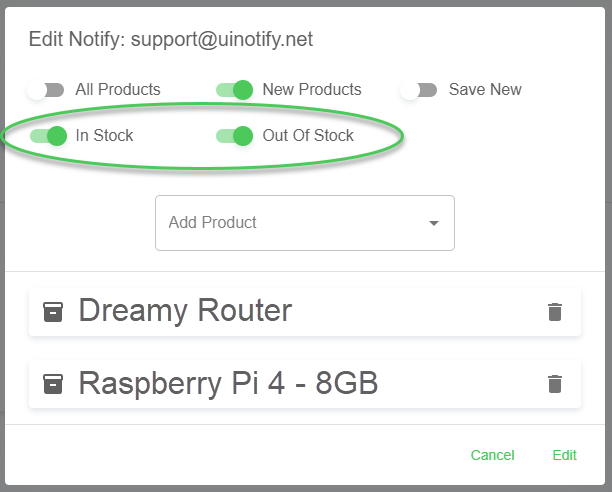
The In Stock / Out Of Stock options allows you to turn on/off either of these notifications. For example, you may want to turn off 'Out Of Stock' notifications in order to ONLY receive notifications when products come into stock, but not when they go out of stock in order to save on message & data rates.
